


How Do I Add Fonts To Microsoft Word For Mac?

Are you a Mac user wanting to customize your Microsoft Word documents? It can be daunting to figure out how to add fonts to Microsoft Word for Mac, but with a few simple steps you can customize your documents to add a unique and personal touch. In this article, you will learn how to add fonts to Microsoft Word for Mac.
language.
How Do I Add Fonts to Microsoft Word for Mac?
Microsoft Word for Mac is an incredibly powerful word processor that allows you to do many things with your documents. One of the most useful features is its robust font selection, which allows you to use an extensive selection of fonts for your documents. But what if you want to add even more fonts to Microsoft Word for Mac? Here’s how you do it.
Step 1: Download New Fonts
The first step to adding fonts to Microsoft Word for Mac is to find and download the fonts you want to use. There are many websites that offer free fonts, but you should always make sure the site is reputable before downloading anything. You can also purchase fonts from a variety of different sites. When downloading fonts, make sure to get the TrueType (TTF) or OpenType (OTF) versions of the font.
Step 2: Install Fonts on Mac
Once you’ve found and downloaded the fonts you want to use, the next step is to install them on your Mac. To do this, double-click on the font file and a window will appear asking you to install the font. Click the “Install” button and the font will be installed on your Mac.
Step 3: Add Fonts to Microsoft Word for Mac
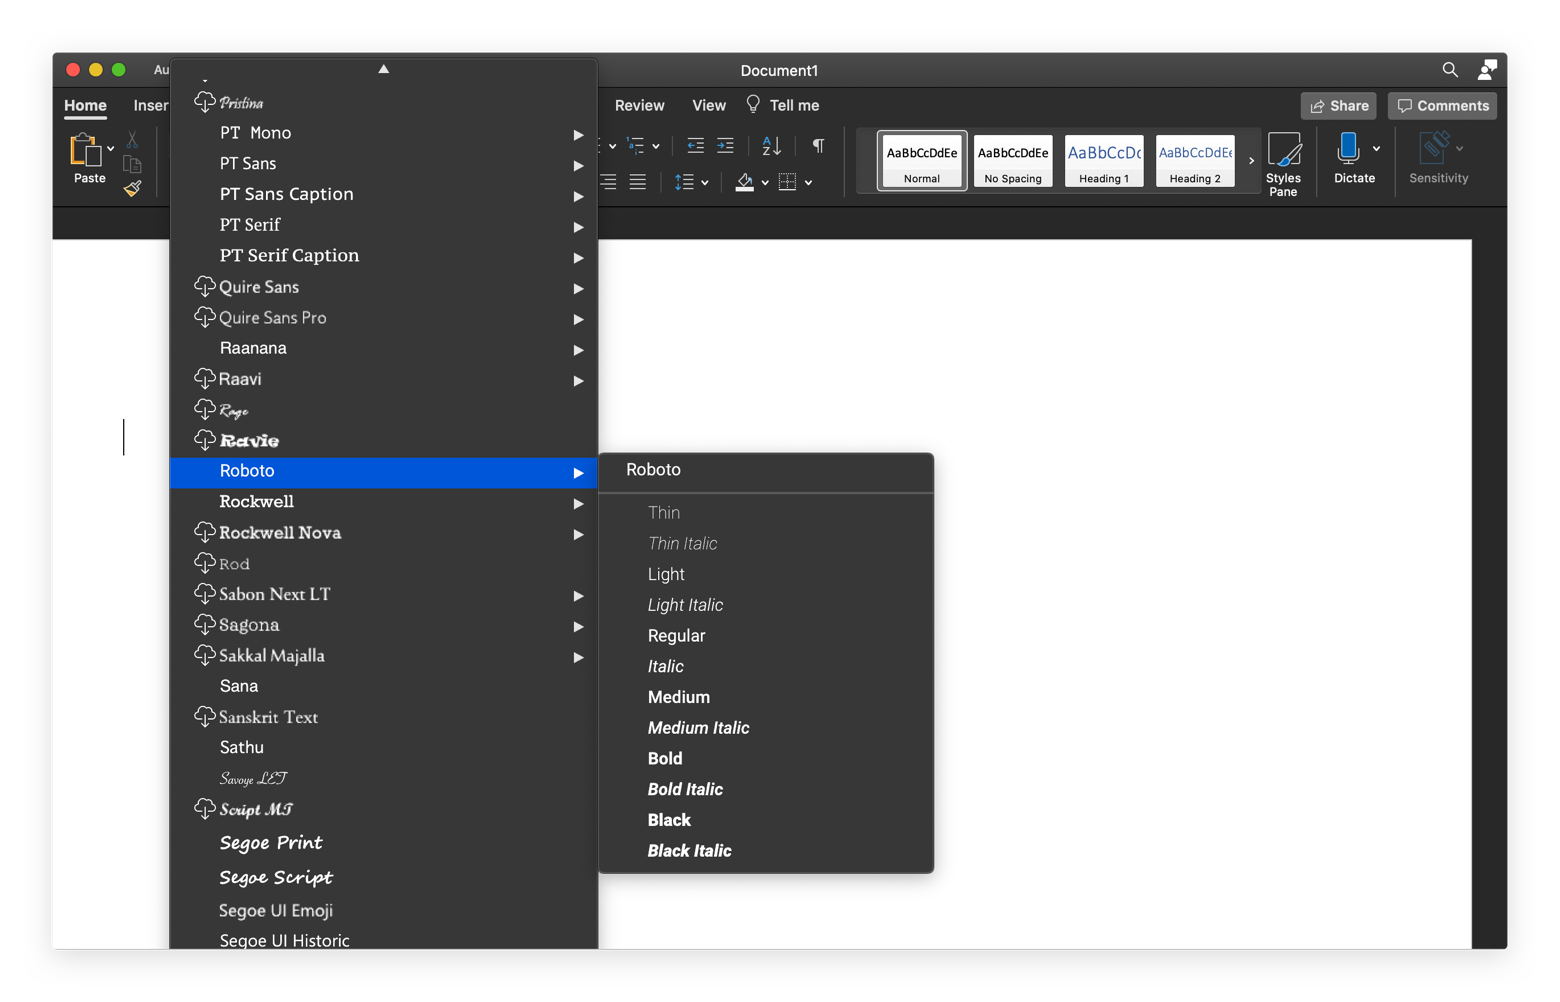
Once the font is installed on your Mac, the next step is to add it to Microsoft Word for Mac. To do this, go to the “Format” tab and select “Fonts.” A list of available fonts will appear, and you should be able to see the font you just installed. Select the font and click “OK” to add it to Microsoft Word for Mac.
Step 4: Using Fonts in Microsoft Word for Mac
Now that you’ve added the font to Microsoft Word for Mac, you can start using it in your documents. To use the font, simply select it from the font menu and start typing. You can also change the font size, color, and style by using the “Format” tab.
Step 5: Uninstalling Fonts
If you decide that you no longer need the font you’ve added, you can easily uninstall it from your Mac. To do this, go to the “Fonts” folder in Finder and select the font you want to uninstall. Right-click on the font and select “Move to Trash” to remove it from your Mac.
Tips for Adding Fonts
When adding fonts to Microsoft Word for Mac, there are a few tips to keep in mind:
Choose the Right Fonts
It’s important to choose fonts that are readable and aesthetically pleasing. You don’t want to overwhelm your document with too many fonts, so choose the ones you like carefully.
Keep Fonts Organized
Once you’ve added a few fonts to Microsoft Word for Mac, it’s important to keep them organized. Create folders for different types of fonts (e.g., serif, sans serif, script, etc.) to make it easier to find the fonts you need.
Backup Fonts
If you’ve downloaded a lot of fonts, it’s a good idea to back them up in case something happens to your computer. You can back them up to an external hard drive or to a cloud storage service such as Dropbox or Google Drive.
Troubleshooting Common Issues
If you encounter any issues when adding fonts to Microsoft Word for Mac, here are a few things to try:
Check the Font Format
Make sure that the font is in the correct format (TTF or OTF) and that it’s compatible with Microsoft Word for Mac.
Check for Updates
If you’re having trouble installing the font, try checking for updates to Microsoft Word for Mac. Sometimes, an update can fix issues with fonts.
Reinstall the Font
If the font is still not working, try reinstalling it. The process is the same as when you initially installed the font.
Conclusion
Adding fonts to Microsoft Word for Mac is easy once you know the steps. Just make sure to download the right font format and install it properly. Then, you can easily add it to Microsoft Word for Mac and start using it in your documents. With a few simple steps, you can customize your documents with the perfect font.
Related Faq
What are the Steps to Add Fonts to Microsoft Word for Mac?
The first step to add fonts to Microsoft Word for Mac is to download the font to your computer. There are many websites that offer free fonts for download. After downloading the font, open Finder on your Mac and locate the font file.
The next step is to open the font file. This will launch the Font Book application and display a preview of the font. From here, you can click the ‘Install Font’ button, which will install the font in the Fonts folder in your Mac’s library. Once the font is installed, you can open Microsoft Word and find the font in the font list.
How Do I Uninstall Fonts from Microsoft Word for Mac?
To uninstall fonts from Microsoft Word for Mac, open the Font Book application. From here, you can select the font that you want to uninstall and click the ‘Remove’ button. This will remove the font from your Mac’s library.
Alternatively, you can open the Fonts folder in your Mac’s library and drag the font file to the Trash. This will remove the font from your Mac, but it will not be removed from Microsoft Word. To completely remove the font from Microsoft Word, you need to open the font list in the program and remove it manually.
Can I Add Fonts to Microsoft Word Online?
No, you cannot add fonts to Microsoft Word online. The online version of Microsoft Word does not support the addition of custom fonts. You can only use the fonts that are included in the program by default. If you need to use a specific font in your document, you will need to download and install it on your device before you can use it in Microsoft Word.
How Do I Find New Fonts for Microsoft Word?
There are many websites that offer free fonts for download. These websites usually have a large selection of fonts that you can choose from. You can browse through the different categories and find the font that you are looking for. Once you have found the font, you can then download it and install it on your device.
Can I Use Fonts in Microsoft Word on Other Devices?
Yes, you can use fonts in Microsoft Word on other devices. Once you have installed the font on your Mac, you can then sync the font with other devices. This means that the font will be available on all of your devices that are connected to the same iCloud account. However, you will need to install the font on each device separately.
How to Import Fonts in Microsoft Word on a Mac : Tech Yeah!
Adding fonts to Microsoft Word for Mac is a very easy process. With a few simple steps, you can have a vast array of fonts to choose from for your documents. Whether you want a classic font for a formal document or something more modern for a creative project, you can find exactly what you need. Microsoft Word for Mac makes font management a breeze, allowing you to easily customize your documents in any way that you need.


