


How To Set Signature In Outlook 365?

Are you having trouble setting up a signature in Outlook 365? Don’t worry – you’re not alone! Many people struggle with this task, but luckily it doesn’t have to be difficult. In this guide, we’ll walk you through the steps of setting up a signature in Outlook 365 so that you can easily customize your emails. With just a few simple steps, you can make sure that each and every email you send has your signature – ensuring that your messages look professional and polished.
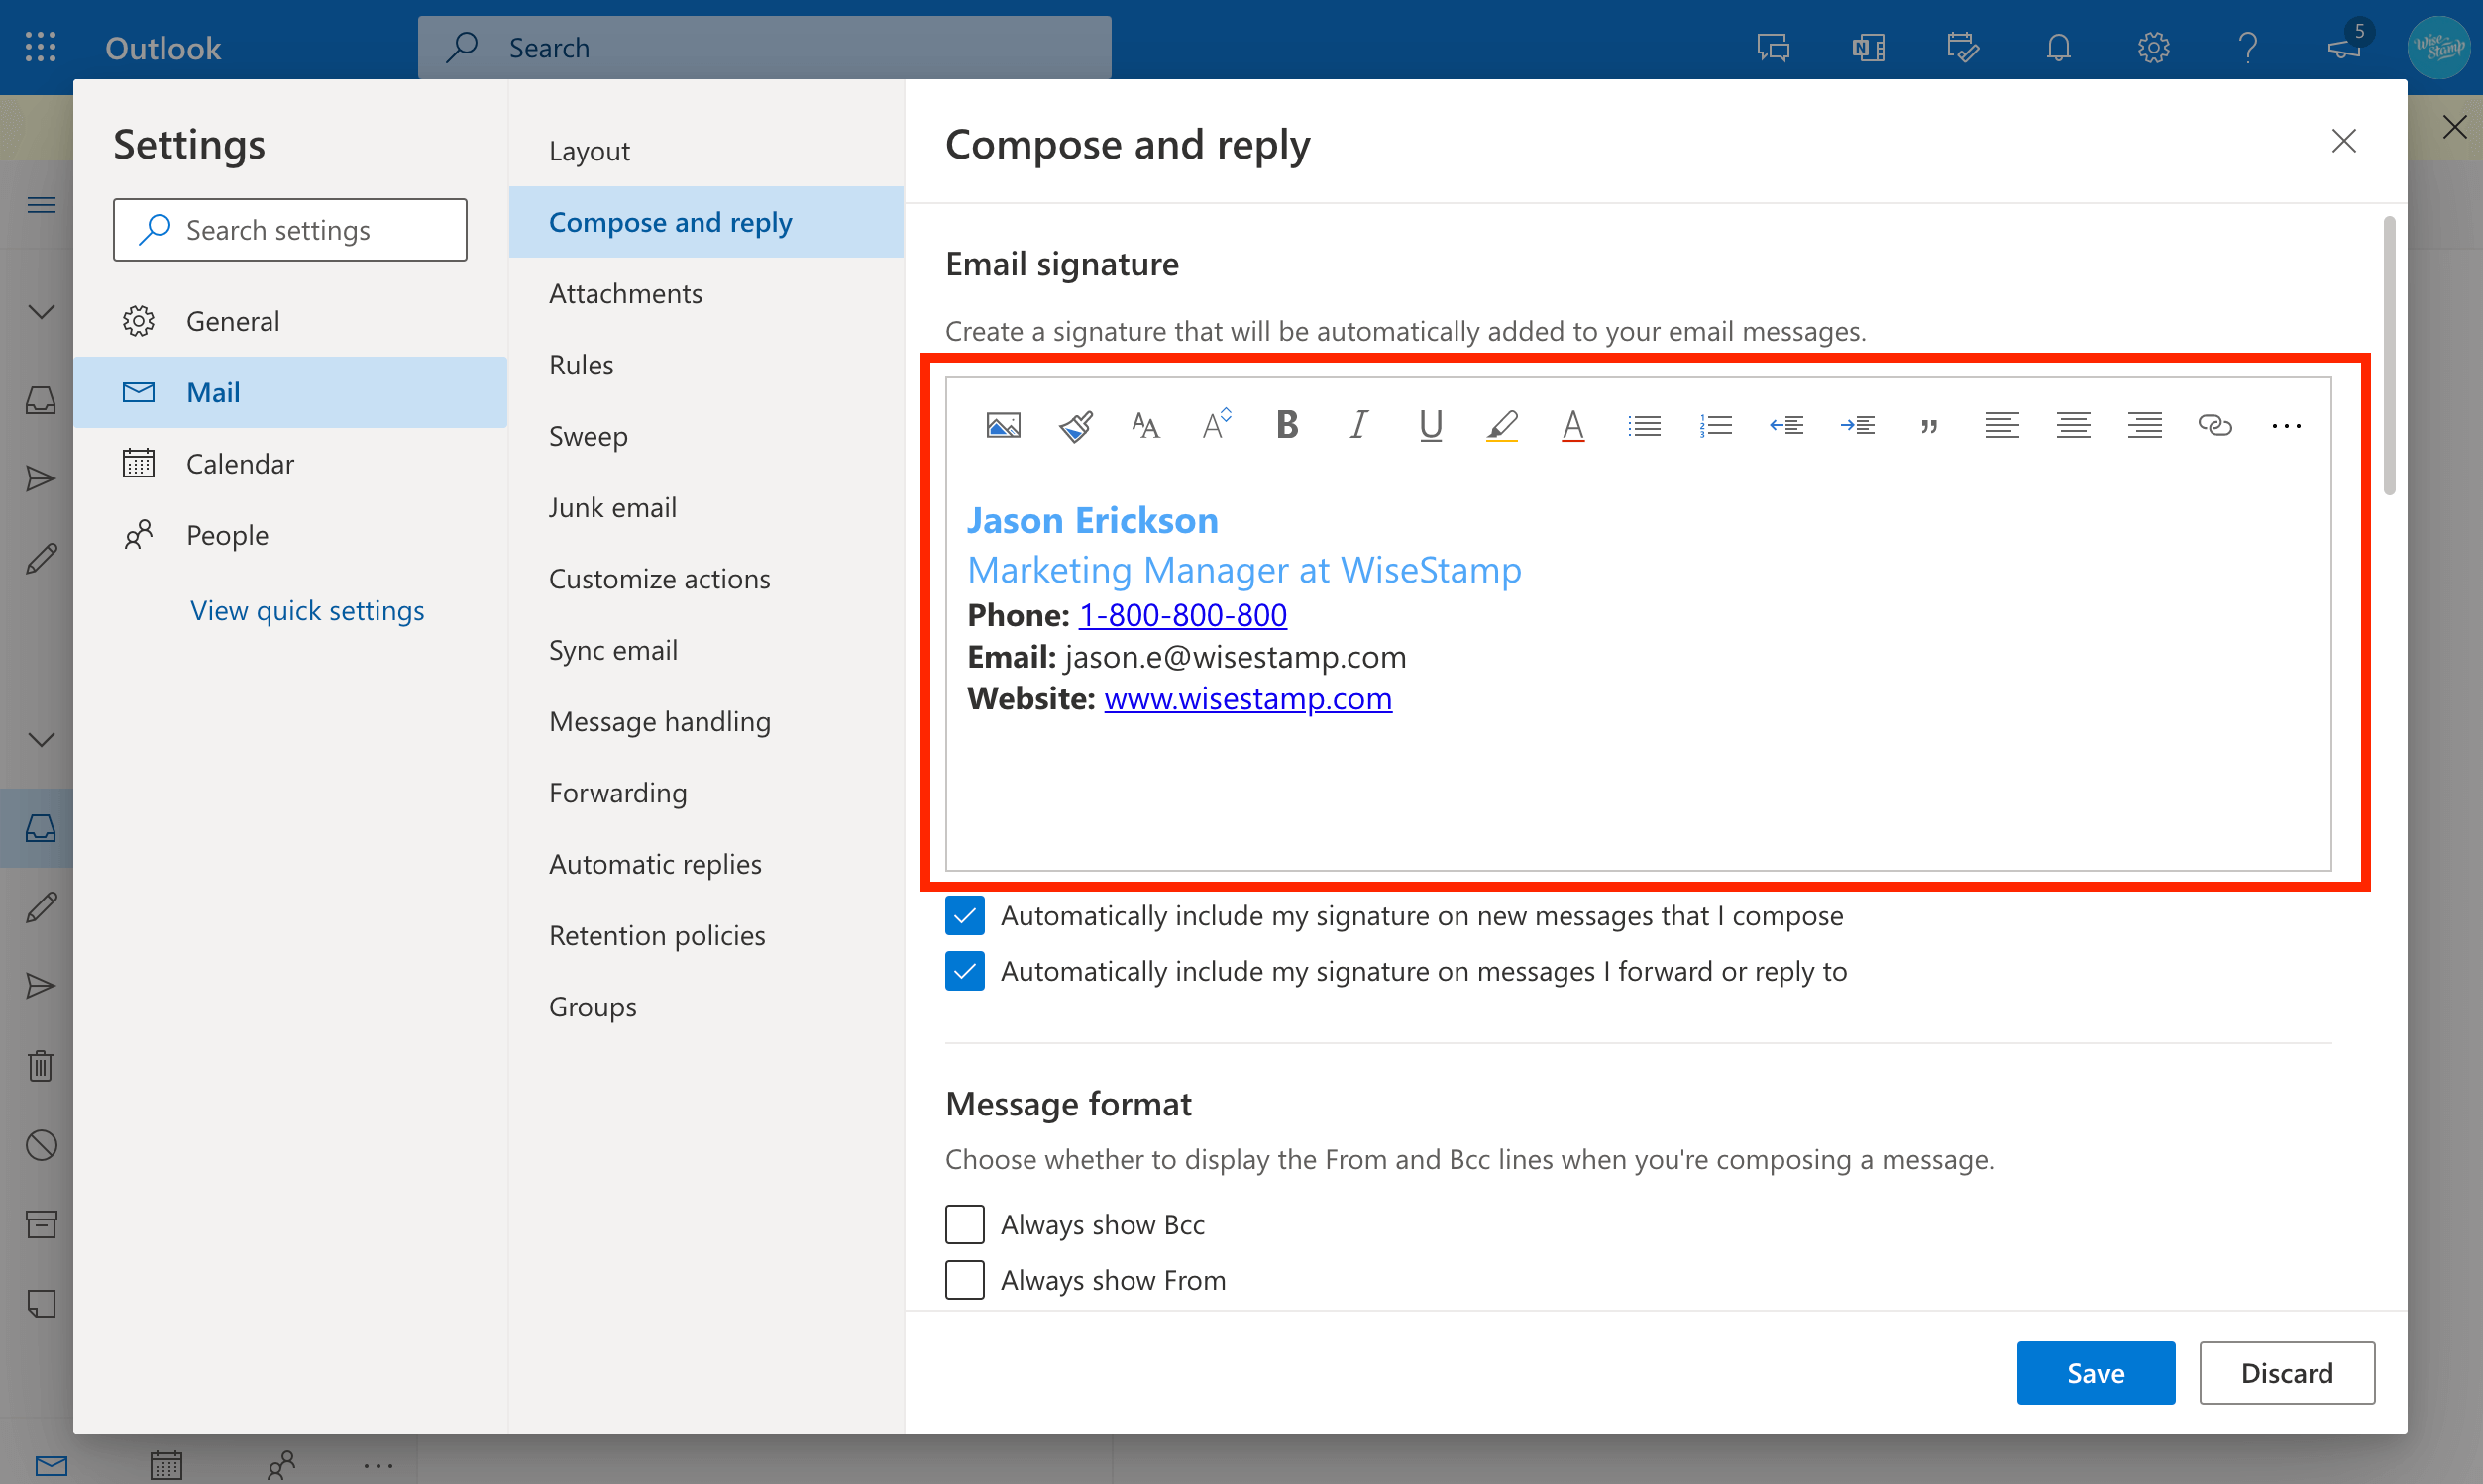
- Open Outlook and click the File tab
- Select Options and click the Mail tab in the left pane
- Scroll down to the Signature section and click the Signatures button
- Select New to create a new signature
- Type a name for the signature in the New Signature dialog box
- Type your desired signature in the Edit Signature box
- Click OK to save your new signature
Introduction to Signatures in Outlook 365
A signature is an important part of any email that you send out. It acts as a way to identify yourself and to provide contact information for the recipient. In Outlook 365, you can easily create your own signature and add it to your emails. In this article, we will discuss how to set up a signature in Outlook 365.
Creating a Signature in Outlook 365
The first step to creating a signature in Outlook 365 is to open the Outlook app. Once in the app, go to the “File” tab, then click on the “Options” button. You will then be presented with a list of options, one of which will be “Mail”. Clicking on this will open a new window, and in this window, you will find the “Signatures” option. Click on this to open the “Signatures and Stationery” window.
In this window, you will be able to create a new signature. To do this, click on the “New” button, then enter the name of your signature. Once you have done this, you will be able to customize the signature by adding text, images, and hyperlinks. When you are done, click “OK” to save your signature.
Adding the Signature to an Email
Once you have created your signature, you will need to add it to your emails. To do this, open an email, then click on the “Options” tab. In this tab, you will see the “Signature” option. Click on this, and you will be presented with a list of signatures that you have created. Select the one that you want to use, and it will be added to the email.
Editing the Signature
If you need to make any changes to your signature, you can do so by opening the “Signatures and Stationery” window, selecting the signature you want to edit, then clicking the “Edit” button. This will open a window where you can make changes to the signature. When you are done, click “OK” to save the changes.
Using Signatures in Outlook 365
Once you have created your signature, you can start using it in Outlook 365. To do this, simply open an email, then click on the “Options” tab. In this tab, you will see the “Signature” option. Click on this, and you will be presented with a list of signatures that you have created. Select the one that you want to use, and it will be added to the email.
Formatting Signatures in Outlook 365
When creating a signature in Outlook 365, you can also format it to suit your needs. To do this, open the “Signatures and Stationery” window, select the signature you wish to edit, then click the “Format” button. This will open a window where you can choose the font, size, and color of your signature. When you are done, click “OK” to save the changes.
Using Signatures in Different Emails
If you want to use the same signature in different emails, you can do so by using the “Manage Signatures” option in Outlook 365. To do this, open the “Signatures and Stationery” window, then click on the “Manage Signatures” button. This will open a window where you can select the signature you want to use, and then choose which emails it should be used in. When you are done, click “OK” to save the changes.
Few Frequently Asked Questions
Q1. What is Outlook 365?
A1. Outlook 365 is a cloud-based subscription service that provides access to Microsoft Office applications, Exchange Online, and other productivity services such as SharePoint Online, Skype for Business, and Teams. It is available as a stand-alone subscription or as part of an Office 365 business plan. Outlook 365 provides users with access to a variety of features such as calendar, contacts, tasks, and email, as well as access to web versions of Word, Excel, PowerPoint, and OneNote.
Q2. How do I set up a signature in Outlook 365?
A2. In Outlook 365, setting up a signature is easy. First, click the “File” tab, then select “Options”. In the Options window, click “Mail” on the left side, then scroll down to the “Signatures” section. Here, you can create a new signature by clicking the “New” button, or edit an existing one. To add a signature to your emails, select the signature you’d like to use from the “Choose default signature” drop-down menu. You can also choose whether to apply the signature to all outgoing messages or only to messages from specified accounts.
Q3. How do I add an image to my signature in Outlook 365?
A3. To add an image to your signature in Outlook 365, first create a signature as described above. Once you’ve created your signature, click the “Insert Picture” icon located in the “Signature” section. Select the image you’d like to use and click “Insert”. If you’d like to resize the image, click on it and use the handles to adjust the size.
Q4. How do I add a link to my signature in Outlook 365?
A4. To add a link to your signature in Outlook 365, first create a signature as described above. Once you’ve created your signature, click the “Insert Hyperlink” icon located in the “Signature” section. Enter the URL of the link you’d like to use and click “OK”. If you’d like to customize the text that appears, simply select the text and edit it.
Q5. Can I preview my signature in Outlook 365?
A5. Yes, you can preview your signature in Outlook 365. Once you’ve created your signature, click the “Preview” button located in the “Signature” section. This will open a preview window that shows how your signature will appear in an email. You can close the preview window by clicking the “Close” button.
Q6. How do I save my signature in Outlook 365?
A6. To save your signature in Outlook 365, click the “Save” button located in the “Signature” section. This will save your signature to your Outlook 365 account and it will be automatically applied to all outgoing emails. You can also choose to save the signature only to the current account by selecting the “Save to this account only” option.
In conclusion, setting up a signature in Outlook 365 is a great way to give your emails a personal touch and to ensure that your communications are always properly identified. Using the steps outlined above, you should be able to create your signature with ease, allowing you to make sure that all of your emails look professional and polished.


