


How To Upload Videos On Sharepoint?

If you’re looking to learn how to upload videos to SharePoint, you’ve come to the right place. In this guide, we’ll walk you through the process step-by-step, so you can quickly and easily get your videos uploaded and shared with the world. We’ll cover everything from creating an account, to setting up the video library and uploading your videos. By the time you’re finished, you’ll have all the knowledge you need to know how to upload videos to SharePoint. So let’s get started!
Uploading Videos on SharePoint: Firstly, create a document library in your SharePoint site. Then, open the library and click on the ‘Upload’ button. Now, select the videos you wish to upload. Finally, click ‘OK’ to complete the upload process.
Alternatively, you can also drag and drop the videos into the library directly.
How To Upload Videos On Sharepoint
The ability to upload videos on Sharepoint is an invaluable feature for businesses and organizations. It allows users to store and easily access large videos, making it easier to share information with multiple people. There are several ways to upload videos on Sharepoint, including through the web interface, desktop application, and mobile app. This article will show you how to upload videos on Sharepoint.
Using the Web Interface
The first and easiest way to upload videos on Sharepoint is through the web interface. To do this, first open the Sharepoint website in your web browser. Log in to your account if you are not already logged in. Once you are logged in, click on the “Upload” tab at the top of the page. You will be presented with a file upload window. Select the video file that you wish to upload from your computer and click on the “Upload” button.
Once the file has been uploaded, you will be able to view the video on the Sharepoint page. You can also share the video with other people in the organization if you wish. To do this, click on the “Share” icon at the top of the page. This will bring up a window where you can type in the email addresses of the people you want to share the video with.
Using the Desktop Application
The second way to upload videos on Sharepoint is through the desktop application. To do this, you will need to download and install the Sharepoint Desktop application on your computer. Once the application has been installed, open it and log in to your account. Once you are logged in, click on the “Upload” tab at the top of the page. You will be presented with a file upload window. Select the video file that you wish to upload from your computer and click on the “Upload” button.
Once the file has been uploaded, you will be able to view the video on the Sharepoint page. You can also share the video with other people in the organization if you wish. To do this, click on the “Share” icon at the top of the page. This will bring up a window where you can type in the email addresses of the people you want to share the video with.
Using the Mobile App
The third way to upload videos on Sharepoint is through the mobile app. To do this, you will need to download and install the Sharepoint Mobile app on your smartphone or tablet. Once the application has been installed, open it and log in to your account. Once you are logged in, tap on the “Upload” tab at the top of the page. You will be presented with a file upload window. Select the video file that you wish to upload from your device and tap on the “Upload” button.
Once the file has been uploaded, you will be able to view the video on the Sharepoint page. You can also share the video with other people in the organization if you wish. To do this, tap on the “Share” icon at the top of the page. This will bring up a window where you can type in the email addresses of the people you want to share the video with.
Step by Step Guide to Uploading Videos on Sharepoint
Step 1: Open the Web Interface
The first step in uploading videos to Sharepoint is to open the web interface. Log in to your account if you are not already logged in. Once you are logged in, click on the “Upload” tab at the top of the page.
Step 2: Select the File
The next step is to select the video file that you wish to upload from your computer. Once you have selected the file, click on the “Upload” button.
Step 3: View and Share the Video
Once the file has been uploaded, you will be able to view the video on the Sharepoint page. You can also share the video with other people in the organization if you wish. To do this, click on the “Share” icon at the top of the page.
Using the Drag and Drop Method
The fourth way to upload videos on Sharepoint is through the drag and drop method. To do this, first open the Sharepoint website in your web browser. Log in to your account if you are not already logged in. Once you are logged in, click on the “Upload” tab at the top of the page. You will be presented with a drag and drop window. Select the video file that you wish to upload from your computer and drag it into the window. Once the file has been uploaded, you will be able to view the video on the Sharepoint page.
Using SharePoint Online Storage
The fifth way to upload videos on Sharepoint is through SharePoint Online Storage. This is a cloud-based storage solution for businesses and organizations. To use it, first open the SharePoint Online Storage website in your web browser. Log in to your account if you are not already logged in. Once you are logged in, click on the “Upload” tab at the top of the page. You will be presented with a file upload window. Select the video file that you wish to upload from your computer and click on the “Upload” button.
Once the file has been uploaded, you will be able to view the video on the Sharepoint page. You can also share the video with other people in the organization if you wish. To do this, click on the “Share” icon at the top of the page. This will bring up a window where you can type in the email addresses of the people you want to share the video with.
Using the Video Upload Tool
The sixth way to upload videos on Sharepoint is through the Video Upload Tool. To use it, first open the Sharepoint website in your web browser. Log in to your account if you are not already logged in. Once you are logged in, click on the “Upload” tab at the top of the page. You will be presented with a Video Upload Tool window. Select the video file that you wish to upload from your computer and click on the “Upload” button.
Once the file has been uploaded, you will be able to view the video on the Sharepoint page. You can also share the video with other people in the organization if you wish. To do this, click on the “Share” icon at the top of the page. This will bring up a window where you can type in the email addresses of the people you want to share the video with.
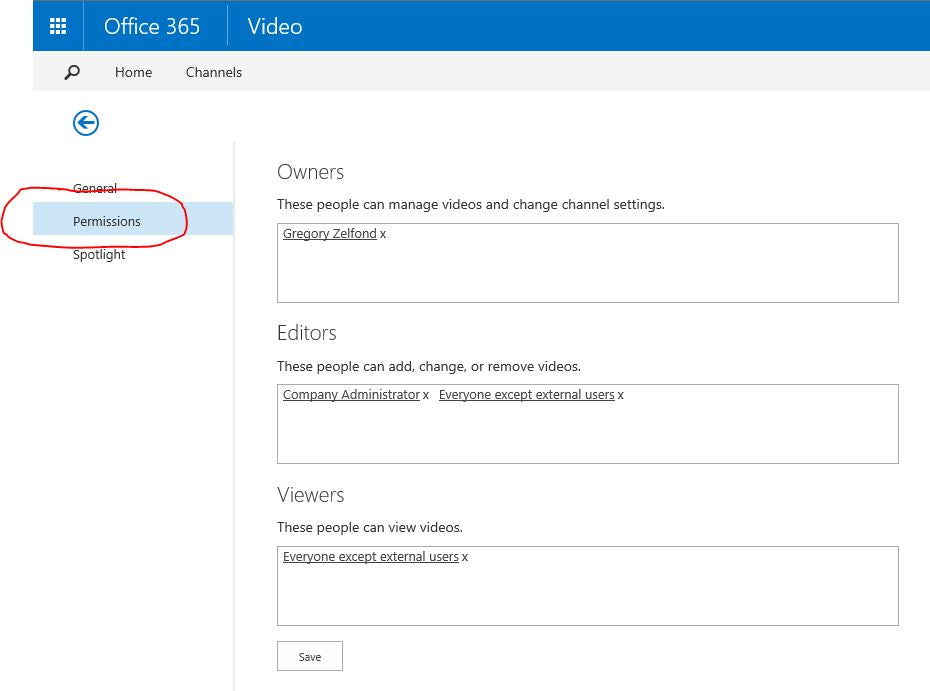
Using the Office 365 Video Portal
The seventh way to upload videos on Sharepoint is through the Office 365 Video Portal. To use it, first open the Office 365 Video Portal website in your web browser. Log in to your account if you are not already logged in. Once you are logged in, click on the “Upload” tab at the top of the page. You will be presented with a file upload window. Select the video file that you wish to upload from your computer and click on the “Upload” button.
Once the file has been uploaded, you will be able to view the video on the Sharepoint page. You can also share the video with other people in the organization if you wish. To do this, click on the “Share” icon at the top of the page. This will bring up a window where you can type in the email addresses of the people you want to share the video with.
Using an FTP Client
The eighth way to upload videos on Sharepoint is through an FTP client. To do this, you will need to download and install an FTP client on your computer. Once the client has been installed, open it and log in to your account. Once you are logged in, select the video file that you wish to upload from your computer and drag it into the FTP client. The file will then be uploaded to the Sharepoint server.
Once the file has been uploaded, you will be able to view the video on the Sharepoint page. You can also share the video with other people in the organization if you wish. To do this, click on the “Share” icon at the top of the page. This will bring up a window where you can type in the email addresses of the people you want to share the video with.
Using the SharePoint API
The ninth way to upload videos on Sharepoint is through the SharePoint API. To use it, you will need to have a basic understanding of programming and web development. Once you have the necessary knowledge, you can use the SharePoint API to upload videos to the Sharepoint server. You will need to authenticate with the server before you can upload any files.
Once the file has been uploaded, you will be able to view the video on the Sharepoint page. You can also share the video with other people in the organization if you wish. To do this, click on the “Share” icon at the top of the page. This will bring up a window where you can type in the email addresses of the people you want to share the video with.
Using a Third Party Video Hosting Service
The tenth way to upload videos on Sharepoint is through a third-party video hosting service. To use it, you will need to sign up for an account with the video hosting service and then upload the video to their server. Once the video has been uploaded, you can then embed the video into your Sharepoint page. This is a great way to share videos with other people in the organization without having to manage the video files on your own server.
Related Faq
How to Upload Videos on SharePoint?
Answer:
To upload videos on SharePoint, users must have “Full Control” permissions. First, users should navigate to the SharePoint library or folder they wish to upload their video to. Then, they should click the “Upload” button to open the upload window. From there, they can select their video by clicking the “Browse” button and selecting their desired file. Once they’ve selected the file, they can click the “Upload” button to start the upload process.
Once the file has been uploaded, users can click the “Share” button to set permissions for users who should have access to the video. Finally, users should click the “Save” button to save their changes and complete the upload process.
Uploading videos to SharePoint is easy and straightforward. With the right tools and knowledge, you can quickly and easily upload videos to your SharePoint library and have them at your fingertips. With the right steps, your videos can be uploaded quickly and securely, allowing you to share them with colleagues or the public. So, if you’re looking for a way to easily and securely upload videos to SharePoint, give it a try today!


