


How To Highlight A Picture In Powerpoint?

Are you looking to spruce up your presentation and make it more visually appealing? If yes, then highlighting a picture in Powerpoint is the best way to go. With a few simple steps, you can easily make your presentation stand out from the rest. In this guide, we will show you how to highlight a picture in Powerpoint so that you can take your presentation to the next level.
Highlighting a Picture in Powerpoint: Here’s a step-by-step guide to highlight a picture in Powerpoint:
- Open your Powerpoint presentation and navigate to the slide where you want to add a picture.
- Click on the ‘Insert’ tab on the ribbon and then click on ‘Picture’ to insert a picture.
- Select the picture and click on the ‘Format’ tab on the ribbon.
- From the ‘Adjust’ section, click on the ‘Recolor’ drop-down menu and select the ‘High Contrast’ option.
- You can also choose the ‘Picture Color’ option to make your picture black and white or sepia.
- You can also adjust the transparency of the picture.
How to Highlight a Picture in PowerPoint?
Adding highlights to an image in PowerPoint can help draw attention to the image or emphasize certain elements. Highlighting an image can be done in a few simple steps.
Inserting the Image into the Slide
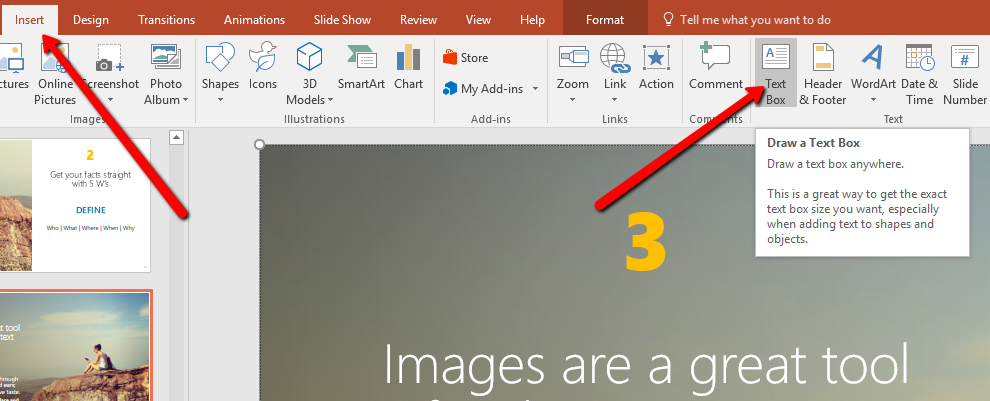
The first step in highlighting a picture in PowerPoint is to insert the image onto the slide. To do this, click the “Insert” tab and select “Picture.” This will open a window in which you can select the image from your computer. Once you have selected the image, click “Insert” to add the image to the slide.
Creating a Shape around the Image
Once the image is inserted into the slide, the next step is to create an outline or shape around the image. To do this, click the “Insert” tab, select the “Shapes” option, and choose the shape you would like to use.
Once the shape is selected, you can resize it and move it to fit around the image. To resize the shape, click and drag the corner or sides of the shape. To move the shape, click and drag it to the desired location.
Formatting the Shape
Now that the shape is placed over the image, the next step is to format the shape. To format the shape, right-click on the shape and select “Format Shape.” This will open a window in which you can customize the shape, including color, line thickness, and transparency.
Once you have the shape formatted the way you want, click “OK” to apply the changes. The image should now be highlighted with your chosen shape.
Grouping the Image and Shape
The last step is to group the image and shape together. This will ensure that the shape stays in place and the image can be moved without the shape moving with it. To group the image and shape, select both the image and shape, right-click, and select “Group.”
Saving the Slide
Once you have highlighted the image, the final step is to save the slide. To save the slide, click the “File” tab and select “Save.” This will save the slide with the highlighted image.
Top 6 Frequently Asked Questions
What is a Picture Highlight?
A picture highlight is a graphical effect that allows you to emphasize a particular part of a picture in Powerpoint. You can use this effect to draw attention to a specific feature of a picture, such as a person’s face or a particular object.
How to Highlight a Picture in Powerpoint?
To highlight a picture in Powerpoint, select the picture you would like to highlight, then click on the ‘Format’ tab. On the Format tab, click on the ‘Picture Effects’ button. Then, select ‘Glow’ from the list of available effects. From there, you can adjust the size, color, and opacity of the highlight. Finally, click ‘OK’ to apply the effect.
What are the Benefits of Using Picture Highlights?
Using picture highlights in Powerpoint can be a great way to draw attention to a particular part of a picture. This can be useful for presentations, as it can help to emphasize a key point or idea. Additionally, picture highlights can be used to create more visually appealing slides.
Are there any Limitations to Picture Highlights?
Yes, there are some limitations to using picture highlights. For example, you can only use picture highlights on pictures, and not on text boxes or shapes. Additionally, the highlight effect can be somewhat limited in terms of the types of effects you can create.
Is it Possible to Adjust the Settings of a Picture Highlight?
Yes, it is possible to adjust the settings of a picture highlight. To do so, simply select the picture you would like to highlight, then click on the ‘Format’ tab. On the Format tab, click on the ‘Picture Effects’ button. From there, you can adjust the size, color, and opacity of the highlight.
Can I Apply Multiple Highlights to the Same Picture?
Yes, it is possible to apply multiple highlights to the same picture. To do so, select the picture you would like to highlight, then click on the ‘Format’ tab. On the Format tab, click on the ‘Picture Effects’ button. Then, select ‘Glow’ from the list of available effects. From there, you can adjust the size, color, and opacity of the highlight. Finally, click ‘OK’ to apply the effect. Repeat this process for each highlight you would like to apply.
How to highlight areas of an image, directly in PowerPoint. A simple 3 minute tutorial.
In conclusion, highlighting a picture in PowerPoint is a relatively easy process that can take your presentation to the next level. With a few clicks of the mouse, you can make your pictures stand out and be more eye-catching. With the help of this article, you now possess the knowledge and skills to highlight pictures in PowerPoint and make your presentations more effective and engaging.


