


How To Save A Conversation On Skype For Business?

Do you find yourself in a situation where you have a conversation on Skype for Business and you want to save it to access it later? You’re not the only one! With the ever-growing use of technology, it is becoming increasingly important to know how to save conversations on Skype for Business. But don’t worry, it’s easier than you think! In this article, I’ll show you how to save a conversation on Skype for Business quickly and easily.
To save a conversation on Skype for Business, follow these steps:
- Open Skype for Business.
- Find the conversation you want to save and select it.
- Select the ellipsis (…) button at the top of the conversation.
- Select Save As.
- Choose the folder you want to save the conversation to.
- Enter a name for the conversation and select Save.
How to Save a Conversation on Skype for Business?
Skype for Business is a great way to communicate with colleagues and friends. It allows for quick and easy conversations, and is also a great way to save conversations for future reference. Saving a conversation on Skype for Business is an easy process and can be done in a few simple steps.
Step 1: Open the chat
To save a conversation on Skype for Business, you first need to open the chat window. To do this, simply click on the chat icon in the top right corner of the Skype for Business window. This will open the chat window and you will be able to view the conversation with the other person.
Step 2: Find the conversation
Once the chat window is open, you can find the conversation you want to save by scrolling through the chat history. Alternatively, you can use the search bar to search for specific keywords or phrases.
Step 3: Select the conversation
Once you have found the conversation you want to save, click on the conversation to highlight it. This will select the conversation and make it easier to access and save in the future.
Step 4: Save the conversation
Now that you have selected the conversation, you are ready to save it. To do this, click on the “Save As” button at the top of the conversation window. This will open a save dialogue window, where you can choose the location to save the conversation. Select the destination and click the “Save” button to save the conversation.
Step 5: Check the Saved Conversation
After you have saved the conversation, you can open it to check that it was saved correctly. To do this, open the file where you saved the conversation and it should open in a text editor. Make sure that all of the text from the conversation is present and correct.
Step 6: Create a Backup
It is a good idea to create a backup of the conversation in case the original file is lost or corrupted. To do this, simply copy the file and save it in a different location. This will ensure that you have a backup of the conversation in case the original file is lost or damaged.
Step 7: Delete the Conversation
Once you have saved the conversation and created a backup, you can delete the original conversation from the Skype for Business window. To do this, simply select the conversation and click on the “Delete” button. This will delete the conversation and you will no longer be able to view it in the chat window.
Conclusion
Saving a conversation on Skype for Business is an easy process that can be done in a few simple steps. By following the steps outlined above, you can save a conversation, create a backup, and delete the original conversation from the Skype for Business window. This will allow you to keep track of conversations and have them available for future reference.
Frequently Asked Questions
How do I save a conversation on Skype for Business?
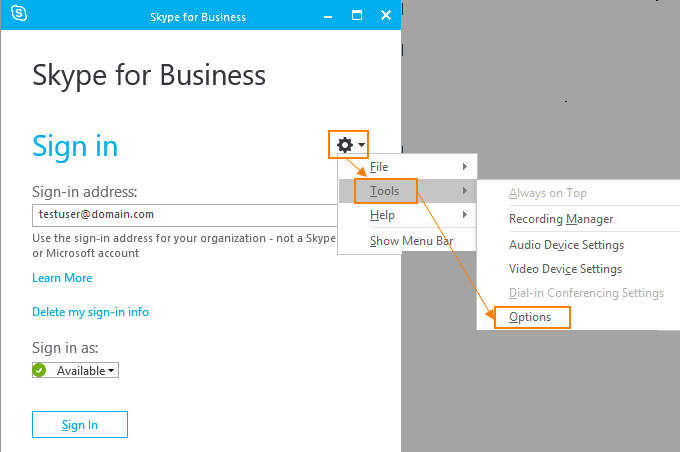
Saving conversations on Skype for Business is easy. First, you need to make sure that archiving is enabled on your system. To do this, you need to open the Skype for Business client and go to File > Options > Personal > Archiving. Once archiving is enabled, all conversations are saved automatically in the background. You can also save specific conversations manually by right-clicking on the conversation window and selecting “Save As”. This will save the conversation as a text file on your computer.
Another way to save conversations is to use the Skype for Business recording feature. You can start a recording of a conversation by clicking the “Start Recording” button in the conversation window. This will save the conversation as an audio or video file on your computer. You can also find the recordings in the Skype for Business client by going to File > Open > Recording Manager.
What is the purpose of archiving on Skype for Business?
Archiving is a feature on Skype for Business that enables users to store conversations on their computer. The conversations are saved in the background and can be accessed anytime. Archiving can be enabled in the Skype for Business client by going to File > Options > Personal > Archiving. Once enabled, all conversations are saved automatically.
Archiving is useful for keeping track of conversations and making sure that important conversations are not lost. It can also be used to store conversations for legal or regulatory purposes. This can be especially helpful for businesses that need to keep records of conversations for compliance reasons.
How can I save specific conversations on Skype for Business?
You can save specific conversations on Skype for Business by right-clicking on the conversation window and selecting “Save As”. This will save the conversation as a text file on your computer. You can then open the file and view the conversation.
Another way to save conversations is to use the Skype for Business recording feature. You can start a recording of a conversation by clicking the “Start Recording” button in the conversation window. This will save the conversation as an audio or video file on your computer. You can also find the recordings in the Skype for Business client by going to File > Open > Recording Manager.
What type of files can I save a Skype for Business conversation as?
When saving a conversation on Skype for Business, you can save it as a text file. To do this, right-click on the conversation window and select “Save As”. This will save the conversation as a text file on your computer. You can then open the file and view the conversation.
You can also use the Skype for Business recording feature to save the conversation as an audio or video file. To do this, click the “Start Recording” button in the conversation window. This will save the conversation as an audio or video file on your computer. You can also find the recordings in the Skype for Business client by going to File > Open > Recording Manager.
Where can I find saved conversations on Skype for Business?
Saved conversations on Skype for Business can be found in the Skype for Business client. If you have enabled archiving, all conversations will be saved automatically in the background. To access these conversations, go to File > Open > Conversations. This will open a list of all conversations that have been archived.
You can also find recordings of conversations in the Skype for Business client by going to File > Open > Recording Manager. This will open a list of all recordings that have been saved. You can then open the recordings to view or listen to the conversation.
Start a Skype Conversation
To wrap up this conversation, it is important to remember that saving a conversation on Skype for Business can be an invaluable tool for communication and collaboration. By taking the time to learn how to save a conversation on Skype for Business, you can ensure that important information is not lost and that important conversations are kept on record for future reference. With this knowledge, you can make sure that your conversations remain organized and that all parties involved are able to access the information they need.


