


How Do You Make A Calendar In Microsoft Word?

Do you need to create a calendar in Microsoft Word but don’t know how? Creating a calendar in Microsoft Word is easy to do and can be very helpful for keeping track of upcoming events and tasks. In this article, we’ll show you how to make a calendar in Microsoft Word, step-by-step. We’ll also provide some tips and tricks for making the most out of your calendar. So if you’re looking for a way to stay organized and on top of your schedule, read on to learn how to make a calendar in Microsoft Word.
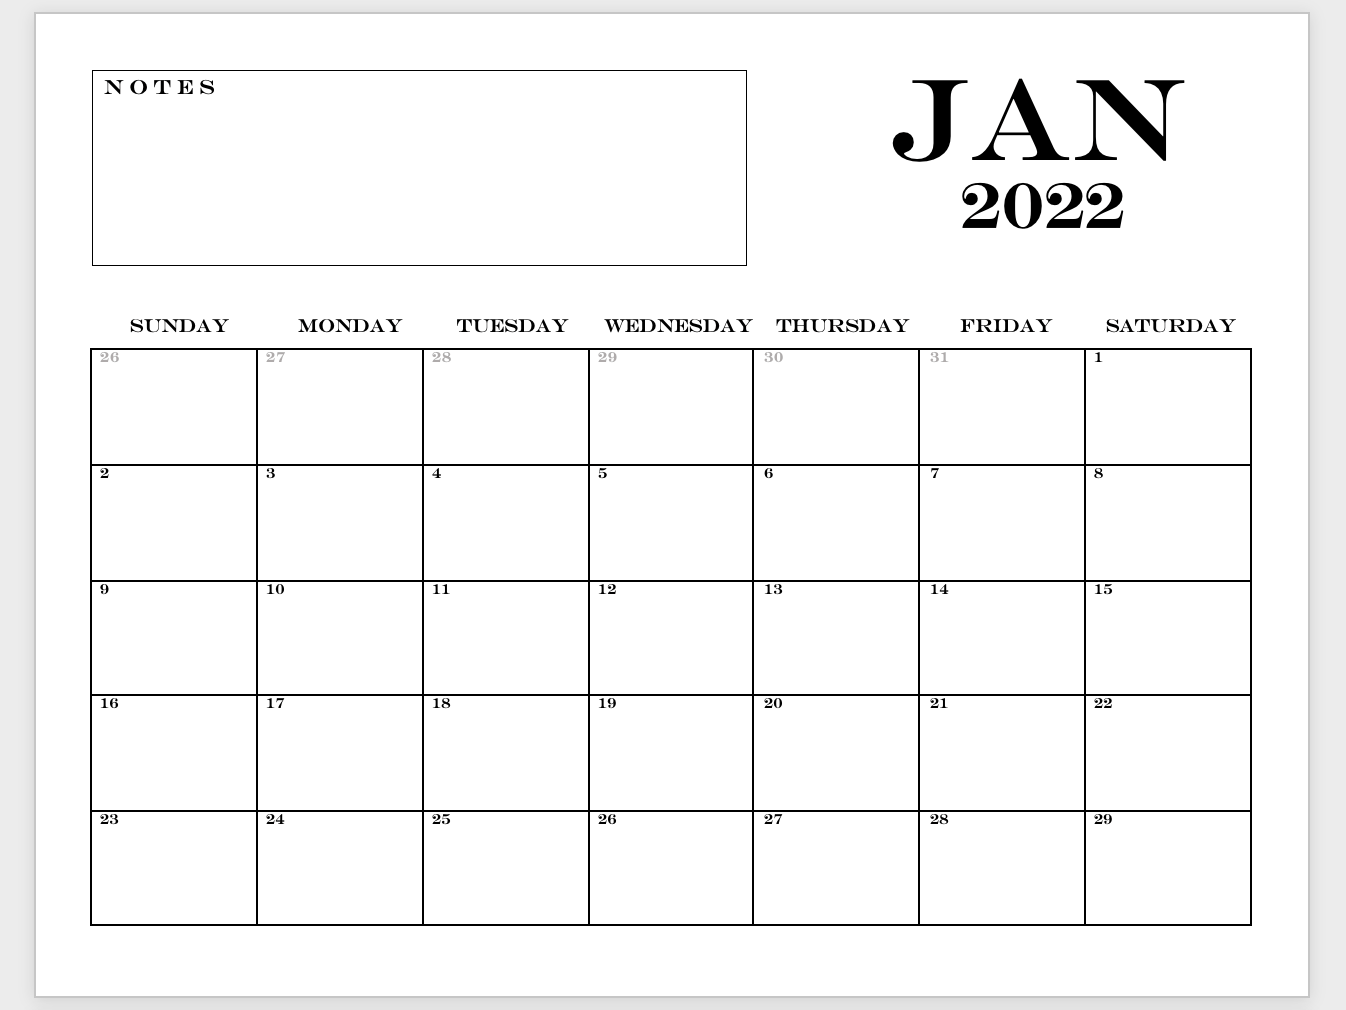
To make a calendar in Microsoft Word, follow these steps:
- Open a new document in Microsoft Word.
- Go to the Insert tab and click on the Table icon.
- Select the number of columns and rows you want to create.
- Adjust the height and width of the table to create a calendar.
- Type the dates in the left column of the table.
- Format the fonts and add a border to the table.
- Save the document as a Word template for future use.
How Do You Make a Calendar in Microsoft Word?
Creating a calendar in Microsoft Word is easier than you might think. With the right tools and a few simple steps, you can make a professional-looking calendar in no time. Whether you’re looking for a way to keep track of appointments or planning out a year of events, Microsoft Word’s calendar templates make it easy to get the job done.
Step 1: Choose a Template
The first step in creating your calendar is to choose a template. Microsoft Word includes several calendar templates, each with a unique design and layout. To access the templates, open Microsoft Word and click on the “File” tab. From there, click “New” and then search for “calendar” in the search bar. You’ll see several options to choose from. Select the one that best fits your needs.
Step 2: Customize Your Calendar
Once you’ve chosen a template, you can customize it to your liking. Start by adding your own text, such as a title, dates, or other information. You can also select different fonts, colors, and sizes to make your calendar look exactly how you want. Additionally, you can add images, shapes, and lines to further customize your calendar.
Step 3: Add Events and Appointments
Once you have your calendar customized, you can start adding events and appointments. To do this, simply click on the day you want to add an event to and type in the details. You can also add images, shapes, and lines to further customize your calendar. Additionally, you can set reminders for upcoming events and appointments.
Step 4: Print or Share Your Calendar
Once you’re finished customizing your calendar, you can print it out or share it with others. To print your calendar, simply click on the “Print” tab in the top ribbon and select your printing options. To share your calendar, click the “Share” tab and enter the email addresses of the people you want to share it with.
Step 5: Save Your Calendar
Before you close out of your calendar, be sure to save it. To do this, click the “File” tab and then select “Save As.” From there, choose a location to save your calendar. You can also choose a file type, such as a Microsoft Word document or a PDF. Once your calendar is saved, you can access it anytime you need to.
Step 6: Customize Your Calendar Settings
Finally, you can customize your calendar settings. To do this, click on the “Format” tab and select “Calendar Settings.” Here, you can choose how to display your calendar (weekly, monthly, etc.), set the starting day, and choose your date format. You can also add holidays and other special occasions to your calendar, as well as customize the color scheme.
Step 7: Create Recurring Events and Appointments
If you have recurring events or appointments, you can easily add them to your calendar. To do this, click on the “Recurring” tab and select “Create Recurring Event.” From there, you can choose the type of event (daily, weekly, etc.), the start and end dates, and any other details you want to include.
Step 8: Make Your Calendar Interactive
If you want to make your calendar interactive, you can do so by adding hyperlinks. To do this, select the text or image you want to link to and then click the “Insert Hyperlink” button. From there, you can enter the URL of the page you want to link to. Once you’ve added your hyperlinks, you can click on them to access the page.
Step 9: Add Forms to Your Calendar
You can also add forms to your calendar. To do this, select the text or image you want to link to and then click the “Insert Form” button. From there, you can select the type of form you want to add (contact form, survey, etc.) and enter the details. Once you’ve added your form, you can click on it to access the form.
Step 10: Publish Your Calendar
The final step is to publish your calendar. To do this, click on the “Publish” tab and select “Publish to Web.” From there, you can enter the URL of the page you want to publish to. Once you’ve published your calendar, you can share the link with others.
Related Faq
What is the easiest way to create a calendar in Microsoft Word?
The easiest way to create a calendar in Microsoft Word is by using the pre-made calendar templates. Microsoft Word offers a wide range of calendar templates, from monthly and yearly calendars to weekly and even daily planners. You can customize these templates with your desired dates and information, or start from scratch.
Using a template will save you a lot of time and effort, allowing you to quickly create a calendar that is tailored to your needs. All you need to do is select the template you want, add the dates, and customize the design and layout to your liking.
How do I insert a calendar into a Word document?
You can easily insert a calendar into a Word document by using the “Insert” menu. In the “Insert” menu, select “Calendar” and then choose the type of calendar you would like to insert. Microsoft Word offers a variety of calendar templates, including monthly and yearly calendars, as well as daily and weekly planners.
Once you have selected the type of calendar you would like to insert, you can customize the design and layout by adding dates, text, images, and more. You can also use the “Format” menu to change the font, size, color, and other formatting options.
How do I format a calendar in Microsoft Word?
Once you have inserted a calendar into a Word document, you can format it to your liking. You can use the “Format” menu to change the font, size, color, and other formatting options. You can also add dates, text, images, and other elements to the calendar to give it a more personal touch.
In addition, you can use the “Layout” menu to customize the layout of the calendar. You can choose to display the calendar in a list, table, or grid view, as well as adjust the size and spacing of the calendar elements.
Can I share a calendar I created in Microsoft Word?
Yes, you can easily share a calendar you created in Microsoft Word. You can use the “Share” menu to quickly send your calendar to friends and family, or you can save the calendar as a PDF and attach it to an email. You can also upload the calendar to a cloud storage service, such as Dropbox or Google Drive, and then share the link with others.
If you would like to share the calendar with a wider audience, you can also publish it on a website or blog. You can easily embed the calendar into a web page or post using the HTML code provided by Microsoft Word.
How do I print a calendar in Microsoft Word?
You can easily print a calendar in Microsoft Word by using the “Print” menu. In the “Print” menu, select the type of calendar you would like to print, such as monthly or yearly, and then choose the size and quality of the print. You can also customize the look of the calendar by choosing the font, size, color, and other formatting options.
Once you have customized the look of the calendar, you can select the printer and paper size you would like to use, and then click the “Print” button to start the printing process. You can also save the calendar as a PDF file and then print it from a PDF viewer.
Creating a Calendar in Microsoft Word
Creating a calendar in Microsoft Word has been made easy with the provided templates and customization options. You can now create your own custom calendar with ease that can be used for anything from family events to business meetings. With a few simple steps, you can be on your way to having a calendar that meets your personal or professional needs. Now that you know how to make a calendar in Microsoft Word, you can start personalizing it to make it your own.


