


How Do You Turn On Microsoft Defender?

Are you looking for a quick and easy way to turn on Microsoft Defender? Microsoft Defender is an important security feature for your computer, and it’s important to make sure it is active and up to date. In this article, we will discuss the steps you need to take to turn on Microsoft Defender and keep your computer secure. Read on to find out how to get Microsoft Defender going on your computer.
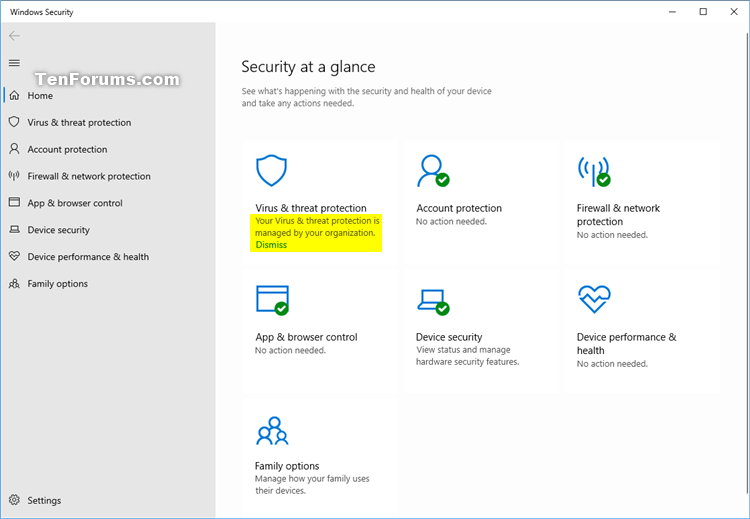
To turn on Microsoft Defender, first open the Start menu. Then, type “Windows Security” and click the top result. Then, click “Virus & threat protection” in the left-hand menu. Finally, click the toggle switch next to “Real-time protection” to turn it on.
How Do You Turn on Microsoft Defender?
Microsoft Defender is a free antivirus program that comes pre-installed with Windows 10. It is designed to protect your computer from malicious software, such as viruses and spyware. This article will explain how to turn on and configure Microsoft Defender.
Enable Microsoft Defender
The first step to turning on Microsoft Defender is to enable it in Windows. To do this, open the Start Menu and type “Windows Security” into the search bar. When the Windows Security application appears, select it to open it.
In the Windows Security window, select the “Virus & threat protection” option on the left side of the window. Then, in the main section of the window, locate the “Virus & threat protection settings” option and select it.
In the Virus & threat protection settings window, locate the “Real-time protection” option and make sure the toggle switch is turned on. If it is not, turn it on to enable Microsoft Defender.
Configure Microsoft Defender
Once Microsoft Defender is enabled, you may want to configure it to meet your needs. To do this, open the Windows Security application again. Select the “Virus & threat protection” option, then select the “Manage settings” option.
In the Manage settings window, you can configure settings such as whether to scan files and emails, scan downloads, and scan removable drives. You can also configure settings for cloud-delivered protection, tamper protection, and other options. Make sure to configure these settings as desired before continuing.
Advanced Scanning with Microsoft Defender
While the default settings for Microsoft Defender are sufficient for most users, more advanced users may want to further customize their scanning settings. To do this, open the Windows Security application and select the “Virus & threat protection” option. Then, select the “Advanced scan” option.
In the Advanced scan window, you can configure settings such as the type of scan to be performed (full, quick, or custom) and the action to take when malicious software is detected. You can also configure scan options such as whether to scan archives and encrypted files, and whether to scan memory. Make sure to configure these settings as desired before continuing.
Schedule Scans with Microsoft Defender
Microsoft Defender also allows you to schedule scans to run on a regular basis. To do this, open the Windows Security application and select the “Virus & threat protection” option. Then, select the “Schedule a scan” option.
In the Schedule a scan window, you can configure when and how often to run a scan. You can also configure whether to scan only the most vulnerable areas of your computer or whether to scan the entire system. Once you have configured the scan settings, select the “Schedule scan” button to save your settings.
Exclude Files and Folders from Microsoft Defender Scanning
If you have certain files or folders that you do not want scanned by Microsoft Defender, you can exclude them. To do this, open the Windows Security application and select the “Virus & threat protection” option. Then, select the “Exclusions” option.
In the Exclusions window, you can configure a list of files, folders, and processes to be excluded from scanning. Once you have configured the exclusions list, select the “Add” button to save your settings.
Disable Microsoft Defender
If you no longer wish to use Microsoft Defender, you can disable it. To do this, open the Windows Security application and select the “Virus & threat protection” option. Then, locate the “Virus & threat protection settings” option and select it.
In the Virus & threat protection settings window, locate the “Real-time protection” option and make sure the toggle switch is turned off. If it is not, turn it off to disable Microsoft Defender.
Manage Notifications with Microsoft Defender
Microsoft Defender can also display notifications when it detects malicious software or activity on your computer. To manage these notifications, open the Windows Security application and select the “Virus & threat protection” option. Then, select the “Manage notifications” option.
In the Manage notifications window, you can configure which notifications are displayed and how often they are displayed. You can also configure whether to display notifications when scans are complete and when malicious software is detected. Make sure to configure these settings as desired before continuing.
Add Exemptions to Microsoft Defender
If you have certain files or folders that you do not want scanned by Microsoft Defender, you can add them as exemptions. To do this, open the Windows Security application and select the “Virus & threat protection” option. Then, select the “Exclusions” option.
In the Exclusions window, you can configure a list of files, folders, and processes to be excluded from scanning. Once you have configured the exemptions list, select the “Add” button to save your settings.
Manage Quarantine with Microsoft Defender
If Microsoft Defender detects malicious software on your computer, it may quarantine it to prevent it from running. To manage quarantined items, open the Windows Security application and select the “Virus & threat protection” option. Then, select the “Quarantine” option.
In the Quarantine window, you can view a list of items that have been quarantined by Microsoft Defender. You can also view information about the items, such as when they were quarantined and why. You can also restore any items that you want to keep, or delete any items that you want to remove.
Configure Microsoft Defender Firewall
In addition to antivirus scanning, Microsoft Defender also includes a firewall that can be used to protect your computer from malicious network traffic. To configure the firewall, open the Windows Security application and select the “Firewall & network protection” option.
In the Firewall & network protection window, you can configure settings such as whether to allow or block certain types of network traffic. You can also configure settings for private networks, public networks, and domain networks. Make sure to configure these settings as desired before continuing.
View Reports with Microsoft Defender
Microsoft Defender also includes a reporting feature that allows you to view reports of scans and detections. To view reports, open the Windows Security application and select the “Virus & threat protection” option. Then, select the “View reports” option.
In the View reports window, you can view reports of scans and detections made by Microsoft Defender. You can also view detailed information about each scan or detection, such as when it occurred and what action was taken.
Related Faq
What is Microsoft Defender?
Microsoft Defender is a security feature built into the Windows 10 operating system. It is an antivirus program that helps protect your computer from malicious threats such as viruses, spyware, and ransomware. It also offers additional protection by monitoring your system for suspicious activity.
Microsoft Defender is an important part of keeping your computer secure, and it should be enabled on all Windows 10 PCs.
How Do I Turn on Microsoft Defender?
Turning on Microsoft Defender is a simple process. First, open the Windows Security settings. You can do this by typing “Windows Security” into the search bar on your taskbar. When the Windows Security window opens, select the “Virus & threat protection” option on the left side of the window.
Then, select the “Manage settings” option under “Virus & threat protection settings.” This will open the “Virus & threat protection settings” window. In this window, you should see an option to “Turn on” Microsoft Defender. Select this option and Microsoft Defender will be enabled on your computer.
Do I Have to Pay for Microsoft Defender?
No, Microsoft Defender is a free security feature that is included with the Windows 10 operating system. It does not require a subscription or any other payment to use. You can simply turn it on and begin using it to help protect your computer from malicious threats.
Microsoft Defender also offers additional protection features, such as cloud-based protection, which is provided for free. Cloud-based protection allows Microsoft Defender to detect and block malicious threats that may not be detected by traditional antivirus software.
Is Microsoft Defender Enough to Protect My Computer?
Microsoft Defender is a great security feature to have enabled on your computer, but it is not a replacement for a comprehensive security solution. While Microsoft Defender can help detect and block many malicious threats, it may not be able to detect all threats.
For the best protection, you should use a combination of both Microsoft Defender and a third-party security solution. A third-party security solution can provide additional protection by monitoring your computer for suspicious activity and blocking malicious threats before they can cause any damage.
Does Microsoft Defender Slow Down My Computer?
Microsoft Defender is designed to run in the background while you are using your computer, and it should not significantly slow down your computer’s performance. However, if your computer is already running slowly, you may want to consider disabling Microsoft Defender.
When your computer is running slowly, it is often because there are too many programs running at the same time. You can reduce the number of programs running by disabling any unnecessary programs, including Microsoft Defender. Doing this can help to improve your computer’s performance.
What If Microsoft Defender Is Not Working?
If you are having problems with Microsoft Defender, the first thing you should do is make sure it is enabled. You can do this by following the steps outlined above.
If Microsoft Defender is enabled and it is still not working, there may be a problem with the software itself. You can try rebooting your computer or reinstalling the Microsoft Defender software. If these steps do not work, you may need to contact Microsoft for further assistance.
How to Disable or Enable Windows Defender on Windows 10
Microsoft Defender is a powerful and reliable tool that can help keep your computer safe from malicious software, viruses, and other threats. By following the steps outlined in this article, you can easily activate Microsoft Defender and start protecting your computer right away. With its automatic scanning and real-time protection, you can be sure your computer will be safe and secure. So, don’t wait any longer, go ahead and turn on Microsoft Defender today and start protecting your computer from the latest threats.


