


How to Check Fan Speed Windows 10?

Are you having trouble with the fan speed on your Windows 10 machine? Are you looking for ways to check your fan speed and make sure it’s running optimally? If so, you’re in the right place! In this article, we’ll go over the steps for how to check fan speed Windows 10, so you can be sure your system is running efficiently. With just a few simple steps, you’ll be able to troubleshoot your fan speed and make sure your system is running smoothly.
- Open Start.
- Search for Command Prompt, right-click the top result, and select the Run as administrator option.
- Type the following command to list the available sensors and press Enter: wmic path win32_Fan get Name, DeviceID, Status
- Type the following command to list the available fans and press Enter: wmic path Win32_PnPEntity where “Name like ‘%Fan%'” get Name, DeviceID, Status
- Type the following command to list the available temperature probes and press Enter: wmic /namespace:\\root\wmi PATH MSAcpi_ThermalZoneTemperature get Name, CurrentTemperature
- Review the available information to find the fan speed in rotations per minute (RPM).
Steps to Check Fan Speed on Windows 10
Checking a computer’s fan speed can be important for ensuring that your computer is running at the optimal temperature. Windows 10 has a number of tools and features available to assist with monitoring the performance of your computer’s fan speed. In this article, we’ll discuss how to check fan speed in Windows 10.
The first step in checking your fan speed is to open the Windows 10 Task Manager. This can be done by right-clicking on the taskbar at the bottom of your screen and selecting Task Manager from the menu. Once you’ve opened the Task Manager, look for the Performance tab. This tab will show you the current fan speed and temperature of your computer.
The next step is to open the Windows 10 Settings app. This can be done by pressing the Windows key on your keyboard and then typing “Settings” into the search bar. Once you’ve opened the Settings app, look for the System category and select it. Then select the “Power & Sleep” tab. On this tab, you will be able to see the current fan speed and temperature of your computer.
Using a Third-Party Software
Another option for checking the fan speed of your computer is to use a third-party software program. There are a number of software programs available for download that can monitor your computer’s fan speed. Most of these programs will require you to download and install the software onto your computer before you can use it.
Once you’ve installed the software, you will be able to monitor the fan speed of your computer in real-time. You can also set the software to alert you if the fan speed reaches a certain level. This can be a useful feature for ensuring that your computer is running at the optimal temperature.
Using the BIOS
The BIOS (Basic Input Output System) is the software that controls the hardware of your computer. The BIOS can be used to check the fan speed of your computer. To access the BIOS, you will need to restart your computer and press a certain key at the boot screen. This key is usually either F1, F2, F10, DEL, or ESC. Once you’ve entered the BIOS, look for the “Fan Speed” section and you will be able to see the current fan speed of your computer.
If you are unable to find the “Fan Speed” section in the BIOS, you may need to update the BIOS to the latest version. This can be done by downloading the latest version of the BIOS from the manufacturer’s website and then installing it on your computer.
Using the Command Prompt
The Windows 10 Command Prompt can be used to check the fan speed of your computer. To open the Command Prompt, press the Windows key and type “cmd” into the search bar. Then right-click on the Command Prompt icon and select “Run as Administrator”. Once the Command Prompt has opened, type in the following command: “wmic fan get name, status”.
This command will show you the current fan speed of your computer. You can also use the “wmic fan get name, speed” command to get the current fan speed in revolutions per minute (RPM).
Using the System Information Tool
The System Information tool can also be used to check the fan speed of your computer. To open the System Information tool, press the Windows key and type “System Information” into the search bar. Then select the System Information tool from the search results. Once the System Information tool has opened, look for the “System Summary” tab and select it. On this tab, you will be able to see the current fan speed of your computer.
Using the Event Viewer
The Event Viewer is a tool that can be used to view a log of events that have occurred on your computer. To open the Event Viewer, press the Windows key and type “Event Viewer” into the search bar. Then select the Event Viewer from the search results. Once the Event Viewer has opened, look for the “System” log and select it. On this log, you will be able to see a list of events related to the fan speed of your computer.
Frequently Asked Questions
1. What is a fan speed?
Fan speed is the rate at which a fan rotates, typically measured in revolutions per minute (RPM). It is the most important factor in cooling a computer, as the faster the fan spins, the more air it can move and the more effectively it can cool the system. The speed of a fan is typically controlled by the motherboard, which can adjust the speed based on temperature readings from the processor or other components.
2. How to check fan speed in Windows 10?
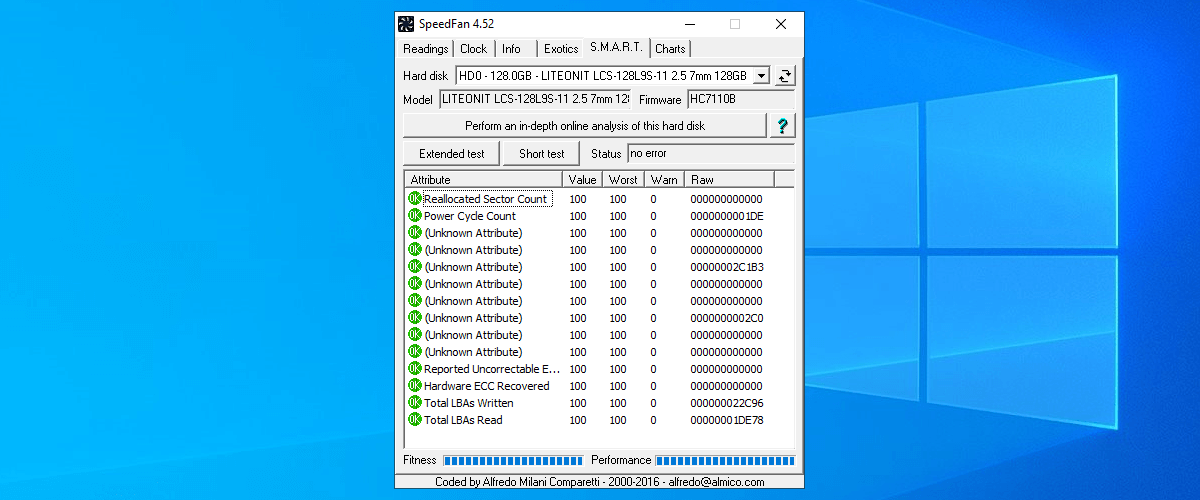
There are several ways to check fan speed in Windows 10. The most common way is to use a third-party application such as SpeedFan or HWMonitor. These applications can provide detailed information about the fan speed, as well as other system temperatures and voltages. Another option is to use the Task Manager, which can provide some basic information about the fan speed, such as the current speed and the average speed over the last few minutes. Finally, some motherboards have their own monitoring software, which can provide more detailed information about fan speed.
3. What is the minimum fan speed?
The minimum fan speed is typically determined by the motherboard and can vary from system to system. Generally, it is recommended that the fan speed be set to at least 600 RPM for a desktop computer. If the system is running applications that generate a lot of heat, such as gaming or video editing, it is best to set the fan speed to at least 1200 RPM.
4. Does fan speed affect performance?
Yes, fan speed can have a significant effect on performance. If the fan speed is too low, the processor and other components may not be cooled properly, leading to poor performance and even system damage. Conversely, if the fan speed is too high, it can generate a lot of noise and consume more power than necessary. It is important to set the fan speed to an appropriate level for optimal performance.
5. How to increase fan speed?
The fan speed can be increased by adjusting the settings in the BIOS or by using a third-party application such as SpeedFan or HWMonitor. In the BIOS, most motherboards will have a setting to adjust the fan speed, typically in increments of 10%. Third-party applications allow for more precise control, allowing for fan speeds to be adjusted in increments of 1%.
6. Is it safe to increase fan speed?
Yes, it is generally safe to increase fan speed, provided that the speed is not set too high. If the fan speed is set too high, it can generate too much noise and consume more power than necessary. It is best to increase the fan speed gradually in order to find an appropriate balance between cooling performance and noise levels.
How to Control Fan Speed on Windows 10
In conclusion, a fan’s speed can be easily monitored in Windows 10 by using the Task Manager to check the CPU and GPU temperatures. By monitoring the temperatures, you can determine if the fan speed is adequate to keep your device cool and running properly. If the temperatures are unusually high or the fan speed is lower than expected, then it is time to consider replacing or upgrading the fan. With a few simple steps, you can ensure that your device is running at its optimum temperature and performance.


