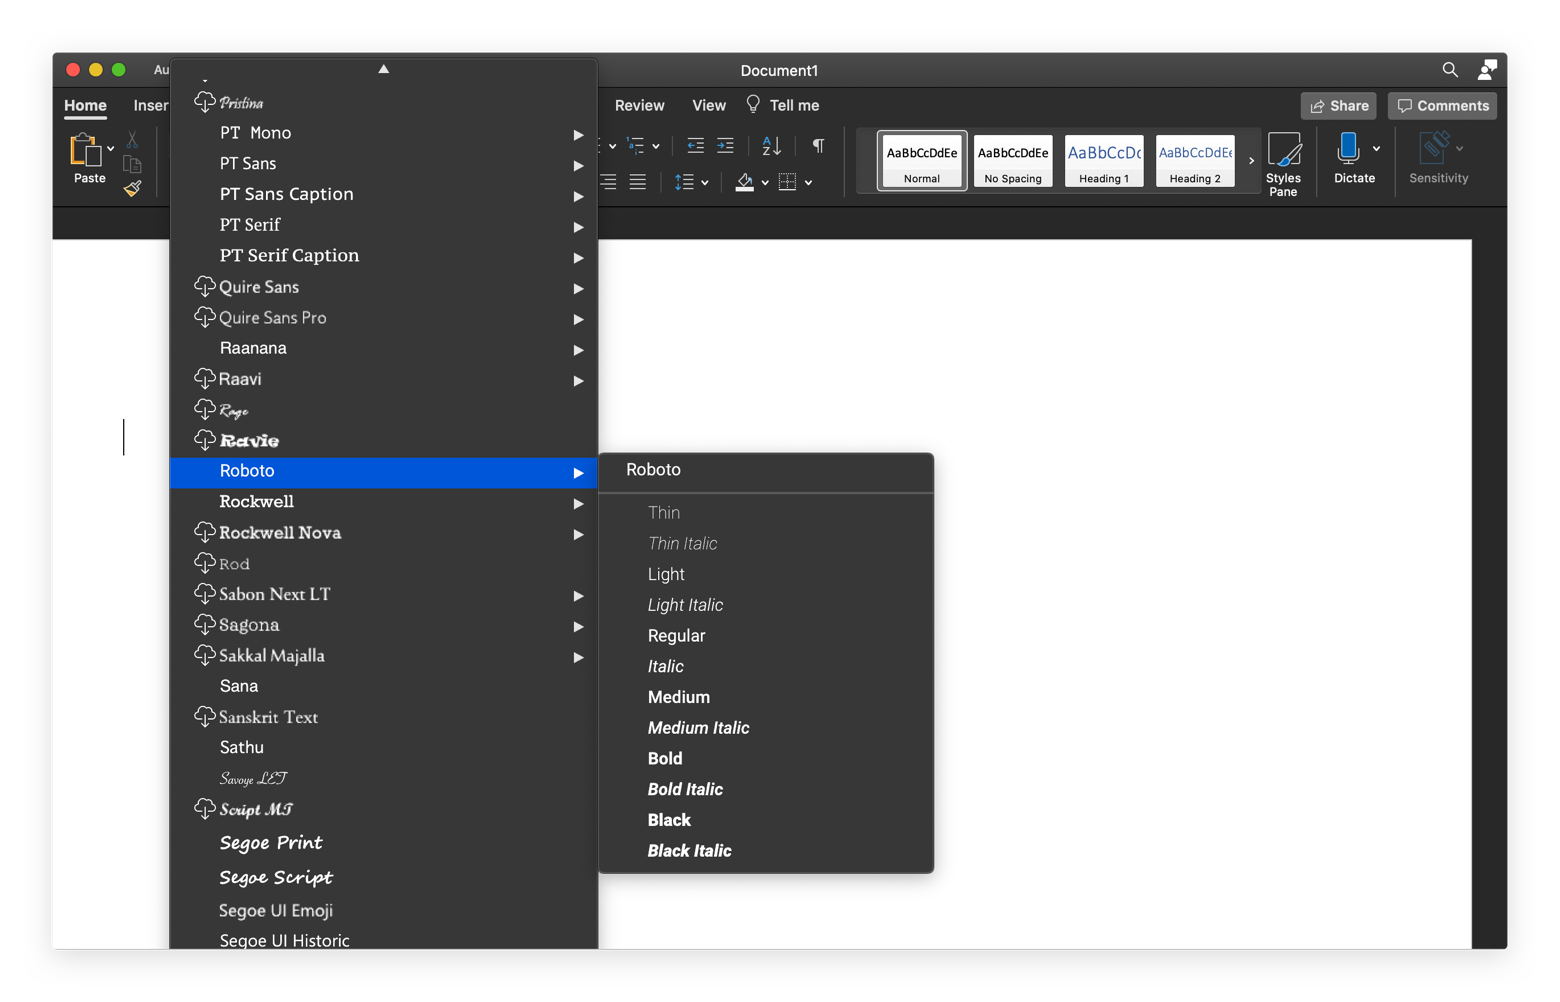
How To Download Fonts To Microsoft Word On Mac?
Are you a Mac user who’s looking to add some flair to your Microsoft Word documents? Are you tired of the same old fonts that come with the program? Downloading fonts to Microsoft Word on Mac is a quick and easy way to give your documents that unique touch. In this article, we’ll show you how to do it.
To download fonts to Microsoft Word on Mac:
- Navigate to the website from which you want to download the font.
- Click the ‘Download’ button and save the file on your desktop.
- Go to the Application folder and open Font Book.
- Drag and drop the downloaded font file into the Font Book.
- Click ‘Install Font’ to add the font to your Mac.
- Open Microsoft Word, click ‘Format’ and select Fonts.
- Select the font you just installed and start typing.

How to Download Fonts to Microsoft Word on Mac?
Getting your favorite fonts installed on your Mac is a great way to customize and personalize your Word documents. With Microsoft Word on Mac, you can easily download and install fonts from the internet. This guide will show you how to download fonts for use in Microsoft Word on Mac.
Step 1: Download the Font
The first step is to download the font you want to use. There are many websites where you can download fonts for free or for a fee. Make sure you download the font in a format that is compatible with Microsoft Word. Typically, these formats are .ttf, .otf, or .fon.
Step 2: Install the Font
Once you have downloaded the font, you can install it on your Mac. Open the font file, and then click the “Install” button. The font will be installed in the Fonts folder in your user Library folder. You can also install the font by copying the font file to the Fonts folder.
Step 3: Use the Font in Microsoft Word
Once the font is installed, you can use it in Microsoft Word. To do this, open Microsoft Word, and then go to the “Format” menu. Select the “Fonts” option, and then select the font you installed. You can now use the font in your Word documents.
Step 4: Activate the Font
If you want to use the font in other applications, you will need to activate it. To do this, open the Font Book application, which is located in the Applications folder. In the Font Book application, select the font you want to activate, and then click the “Activate” button.
Step 5: Add Fonts to Microsoft Word
To add your newly installed font to Microsoft Word, open the Word application and go to the “Format” menu. Select the “Fonts” option, and then select the font you want to add. You can now use the font in your Word documents.
Step 6: Organize Your Fonts
If you have installed multiple fonts, you can organize them in the Font Book application. This will make it easier to find and use the fonts in Microsoft Word. To do this, open the Font Book application, select the font you want to organize, and then click the “Organize” button.
Step 7: Install Fonts from Other Sources
You can also install fonts from other sources such as Adobe Fonts. To do this, open the Adobe Fonts website, select the font you want to install, and then click the “Install” button. The font will be installed in the Fonts folder in your user Library folder.
Step 8: Delete Unused Fonts
If you have installed multiple fonts, you can delete any fonts you are not using. To do this, open the Font Book application, select the font you want to delete, and then click the “Delete” button. The font will be removed from the Fonts folder in your user Library folder.
Step 9: Backup Your Fonts
It is a good idea to back up your fonts in case something happens to your computer. To do this, open the Font Book application, select the font you want to backup, and then click the “Backup” button. You can then save the font file to an external drive or other storage device.
Step 10: Troubleshooting Font Issues
If you are having trouble with fonts in Microsoft Word, you can try troubleshooting the issue. To do this, open the Font Book application, select the font you are having trouble with, and then click the “Diagnose” button. The Font Book application will then check the font file for any issues and try to fix them.
Frequently Asked Questions
How to Download Fonts to Microsoft Word on Mac?
Answer:
In order to download fonts to Microsoft Word on Mac, you first need to download the fonts you want from a reliable font website. Once you have the fonts downloaded, you can install them on your computer and then make them available for use in Microsoft Word.
To install the fonts, open your Downloads folder and double click on the font file. This will open a preview window, where you can view the font and choose to install it. Once the font is installed, you can open Microsoft Word and access it from the drop-down menu in the top right corner. From there, you can select the font and start using it in your documents.
How to Import Fonts in Microsoft Word on a Mac : Tech Yeah!
This tutorial has walked you through how to easily download fonts to Microsoft Word on Mac. From downloading the font files to installing them on your computer and then using them in Microsoft Word, you have all the steps you need to make your documents stand out. With the right fonts, you can make your documents look professional, creative, and more appealing. So don’t wait, start customizing your documents now with the right fonts!


