


How to Show Thumbnails in Windows 10?

Are you looking for a way to make your Windows 10 desktop more visually appealing? You can easily do this by adding thumbnails to your display. Thumbnails are small images of the contents of a folder, which can help you quickly identify what is stored in them. In this article, we will show you how to show thumbnails in Windows 10. We’ll also discuss the benefits of using thumbnails, and the best practices for customizing your display. Read on to learn more!
- Open File Explorer by pressing the Windows key + E.
- Select the View tab in the top menu, then click the Options button.
- In the Folder Options window, select the View tab.
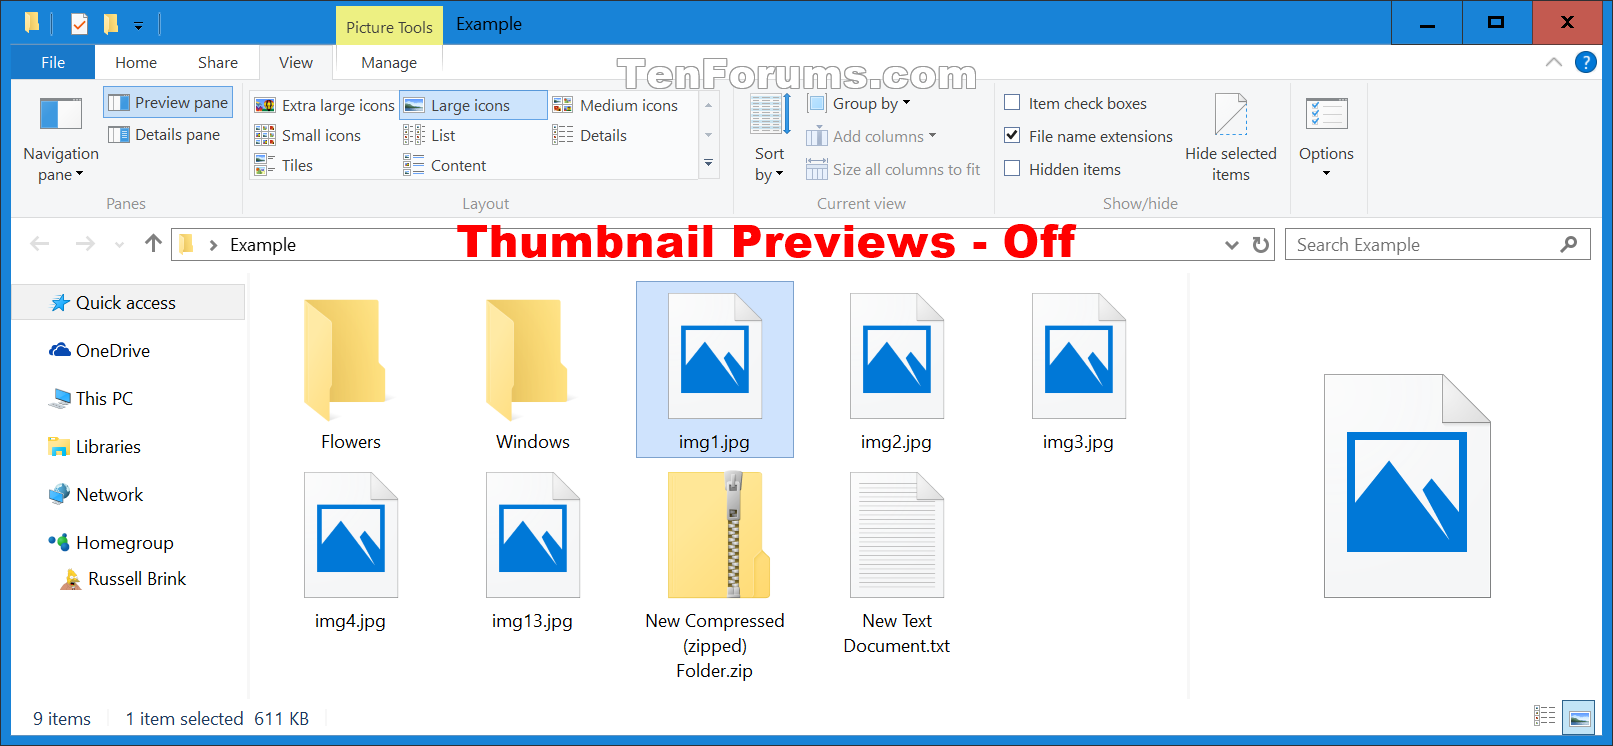
- Under the Advanced Settings section, check the box Always show icons, never thumbnails.
- Click OK to save the changes.
How to Enable Thumbnails in Windows 10
Windows 10 allows you to view thumbnails of your images, videos, audio files, and documents. Thumbnails are small versions of your files that make it easier to locate files quickly. This article will provide step-by-step instructions on how to enable thumbnails in Windows 10.
Enabling thumbnails in Windows 10 is easy and can be done in a few simple steps. The first step is to open the Control Panel. To do this, click the Start button and type “Control Panel” into the search box. Once the Control Panel is open, click the “View by” drop-down menu and select “Large Icons” or “Small Icons” to view all the available options.
Next, click “Folder Options,” which can be found in the Control Panel window. In the Folder Options window, click on the “View” tab and make sure that the “Always show icons, never thumbnails” option is unchecked. This will enable Windows to show thumbnails instead of icons in File Explorer.
Adjusting Thumbnail Settings
Once you have enabled thumbnails in Windows 10, you can adjust the settings for thumbnails. To do this, click the “Advanced Settings” button in the Folder Options window. This will open a new window with additional settings. In the Advanced Settings window, you can adjust the size of the thumbnails, how often thumbnails are updated, and how many thumbnails are displayed.
You can also customize the way thumbnails are displayed. To do this, click the “Change” button under the “Thumbnail Size” heading. This will open a new window with additional settings. In this window, you can select the size of the thumbnails and the format in which they are displayed (e.g., JPEG, PNG, etc.).
Adjusting the Preview Pane Settings
You can also adjust the settings for the preview pane in File Explorer. To do this, open the Folder Options window and click the “Preview Pane” tab. In this tab, you can enable or disable the preview pane and adjust the size of the thumbnails displayed in the preview pane.
Turning Off the Thumbnail Cache
Windows 10 stores a cache of thumbnails to make it faster to display thumbnails in File Explorer. However, this can take up disk space and slow down your computer. To turn off the thumbnail cache, open the Folder Options window and click the “Disk Cleanup” button. In the Disk Cleanup window, select the “Temporary Files” option and then click the “Clean Up System Files” button. This will delete the thumbnail cache and free up disk space.
Restoring Default Thumbnail Settings
If you have made changes to the thumbnail settings and want to restore the default settings, open the Folder Options window and click the “Restore Defaults” button. This will reset the settings to the default values and restore the thumbnail display in File Explorer.
Related Faq
What are Thumbnails?
Thumbnails are small versions of an image, document, or video that are used to quickly preview the file without having to open it. In Windows 10, thumbnails are the small pictures used to represent a file or folder. They can be used to quickly identify the contents of a file or folder.
What is the Purpose of Thumbnails?
The purpose of thumbnails is to provide a quick overview of the content of a file or folder before opening it. This helps to save time and makes it easier to find specific files or folders. Thumbnails can also be used to quickly delete or move files or folders.
How to Show Thumbnails in Windows 10?
To show thumbnails in Windows 10, you need to go to the File Explorer and click on the View tab. Then, check the box next to “Always show icons, never thumbnails”. This will enable thumbnails to be displayed whenever a file or folder is opened.
What are the Benefits of Showing Thumbnails?
Showing thumbnails has several benefits. It allows users to quickly identify the content of a file or folder without having to open it. It also provides a more visually appealing way to view files and folders. Additionally, it can help to save time when searching for a specific file or folder.
Are There Ways to Customize the Size of Thumbnails?
Yes, there are ways to customize the size of thumbnails in Windows 10. To do this, go to the File Explorer and click on the View tab. Then select the “Large icons” or “Extra large icons” option. This will adjust the size of the thumbnails accordingly.
Are There Any Disadvantages of Showing Thumbnails?
Yes, there are some disadvantages of showing thumbnails. The main disadvantage is that it can take up more disk space and can slow down the performance of the computer. Additionally, it can also be more difficult to delete or move files and folders when thumbnails are displayed.
How to Enable Thumbnail View for Files in Windows PC | all files are shown as icons
If you are looking to show thumbnails in Windows 10, there are a few simple steps you can take to make sure you are able to see them. You can enable the setting by going to File Explorer Options, clicking on the View tab and making sure the Show thumbnails instead of icons option is selected. You can also enable thumbnails in the taskbar, by going to taskbar settings and selecting the Show thumbnails instead of icons option. Finally, you can also make sure thumbnails are enabled in the registry editor by going to the HKEY_CURRENT_USER folder and making sure the value for the ShowThumbnails option is set to 1. By taking these steps, you can make sure thumbnails are enabled in Windows 10 and you can quickly and easily view images in your file explorer.


